Still has a slight coolant leak from the thermostat housing, I put a new gasket, gasket goo and let it sit over night to fully dry and it still has a slight leak
My GC Hardtop project
Re: My GC Hardtop project
Tried my third temp sensor that I had yesterday, took the car for a good run, maybe 60k's return at 110kph and it sat perfectly on the first line all the way.
Still has a slight coolant leak from the thermostat housing, I put a new gasket, gasket goo and let it sit over night to fully dry and it still has a slight leak
Still has a slight coolant leak from the thermostat housing, I put a new gasket, gasket goo and let it sit over night to fully dry and it still has a slight leak
-
BlueThunder

- Posts: 338
- Joined: Thu Oct 14, 2010 2:18 am
- Location: Antwerp

-
Superscan811
- Posts: 1689
- Joined: Sun Mar 22, 2009 4:12 pm
- Location: Sydney
Re: My GC Hardtop project
There may be a crack between the housing and the bolt hole.
Cheers.
Cheers.
Re: My GC Hardtop project
Got it sorted, turns out one of the bolts was to short and was rattling loose. Chucked a longer threaded bolt in there and all good 
Get the speedo cable sorted and everything is good
Get the speedo cable sorted and everything is good

Re: My GC Hardtop project
thats good 
Previous owner of a GC Coupe, a few GSRS and random Sigmas.
Converted to the Ultimate Driving Machines
Converted to the Ultimate Driving Machines
Re: My GC Hardtop project
Well I had a little issue with the running temp on the cruise yesterday, didn't get over 3/4 but was close when stopped but dropped below half in a short time when moving. Turns out one of the connections was dodgey on the thermo fan so it wasn't working. Fixed that and it was fine.
Went for a good drive this morning through the Adelaide hills and didn't skip a beat, even when pushing it pretty hard through the twisties the gauge didn't touch 1/3 in the cool morning air.
So in the last 3 days I have covered nearly 300k's and all is well.
I just need to convince my brain I need to take the wagon to work tomorrow not the hardtop, lol
Re: My GC Hardtop project
Scored some good stuff at U Pull It's all you can carry for $55 day today
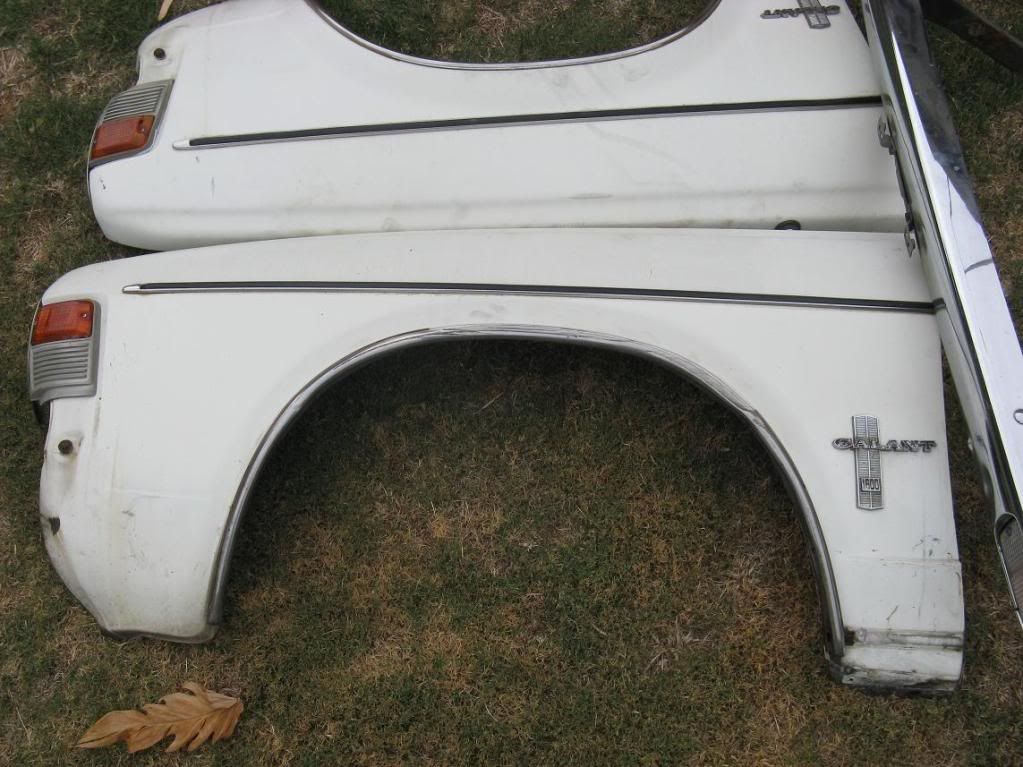
A pair of very tidt front gaurds, a perfect bonnet and a mint front bumper. All complete with lights in good condition and gaurds badges for my collection of worthless junk, lol
Minor rust under the paint but no holes in this one and a cracked lense
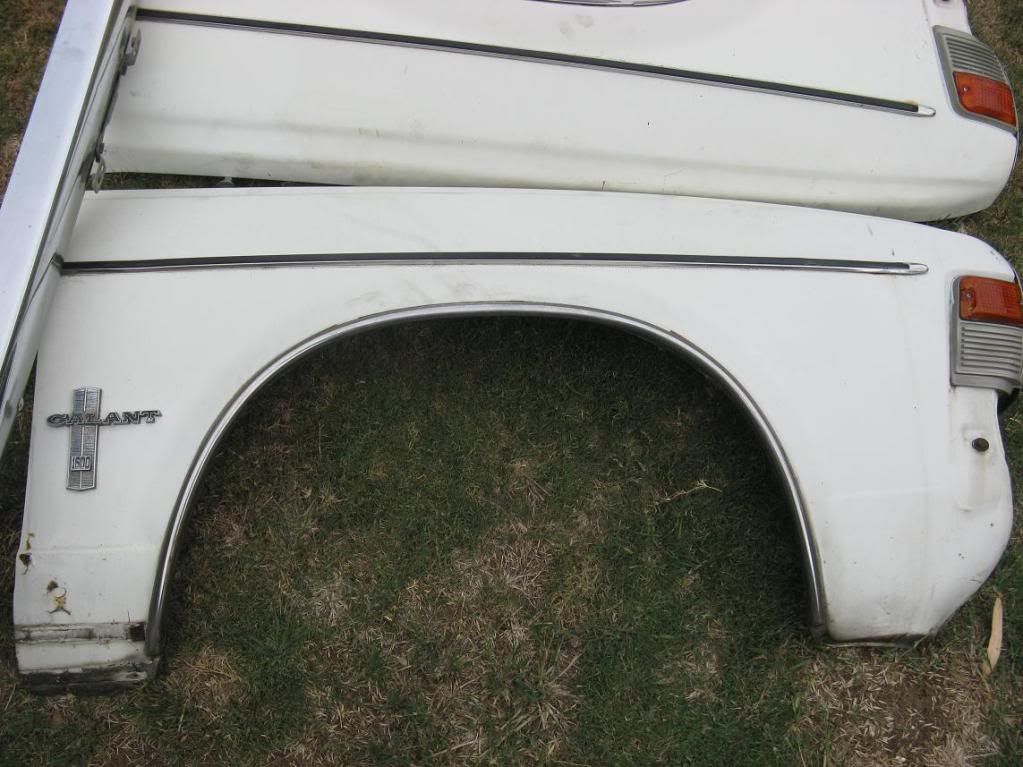
This one is mint
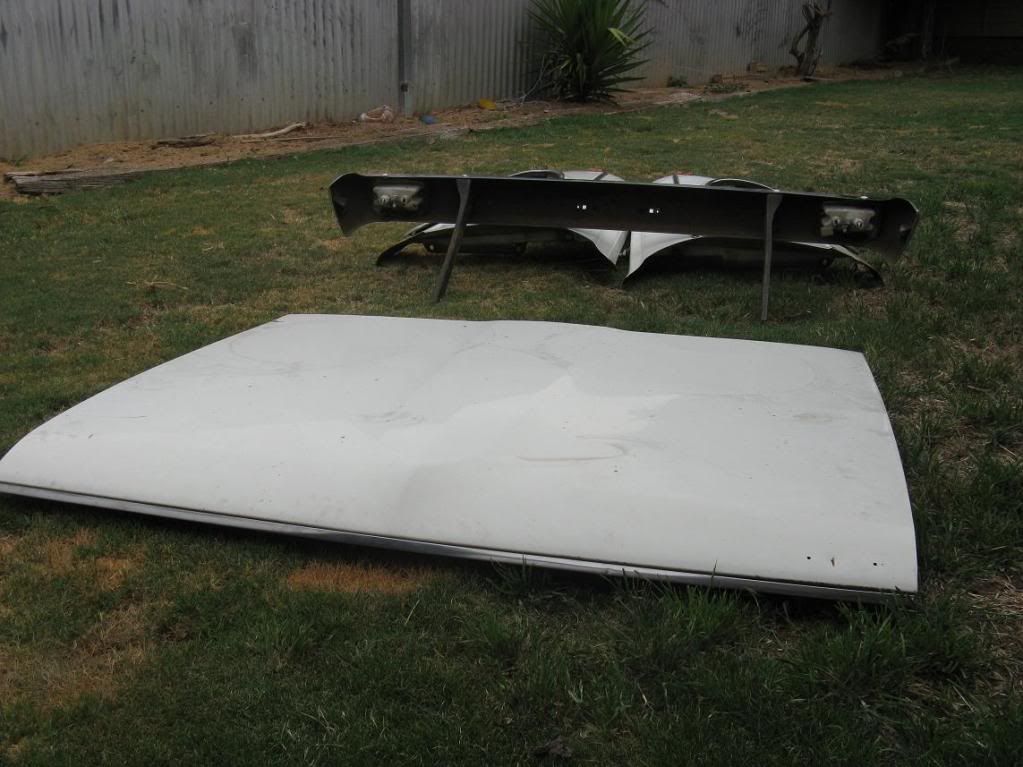
Perfect bonnet, no rust or dents and chrome is very good
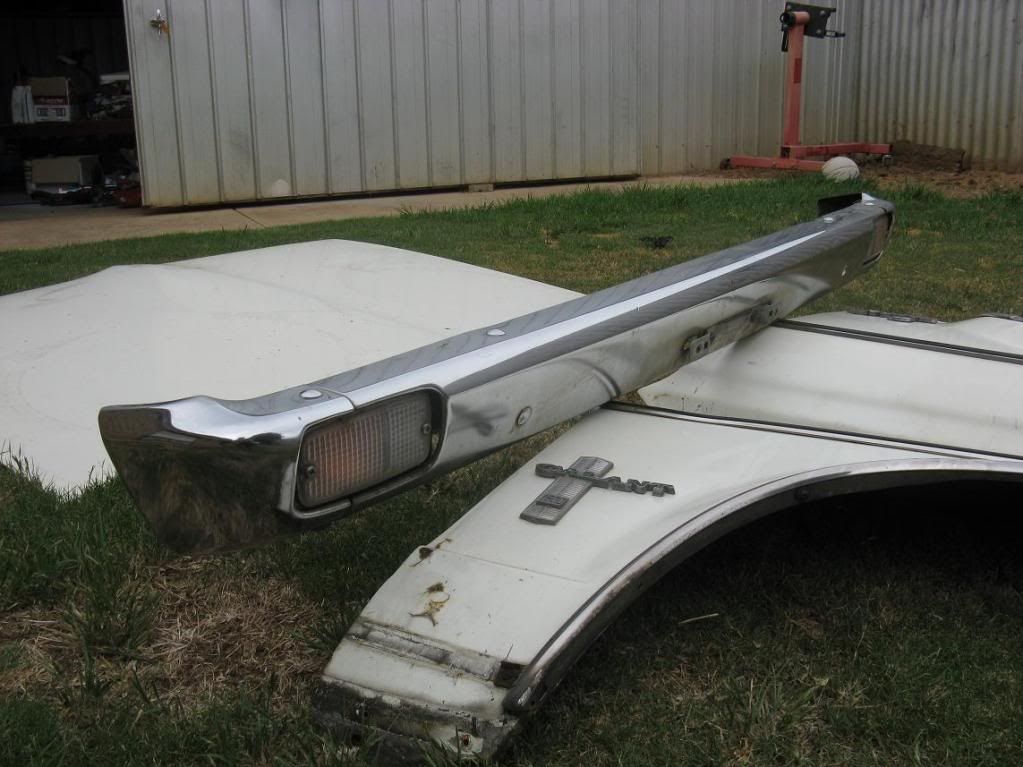
Perfect front bumper bar with mint lights
The lot & Buddy, lol
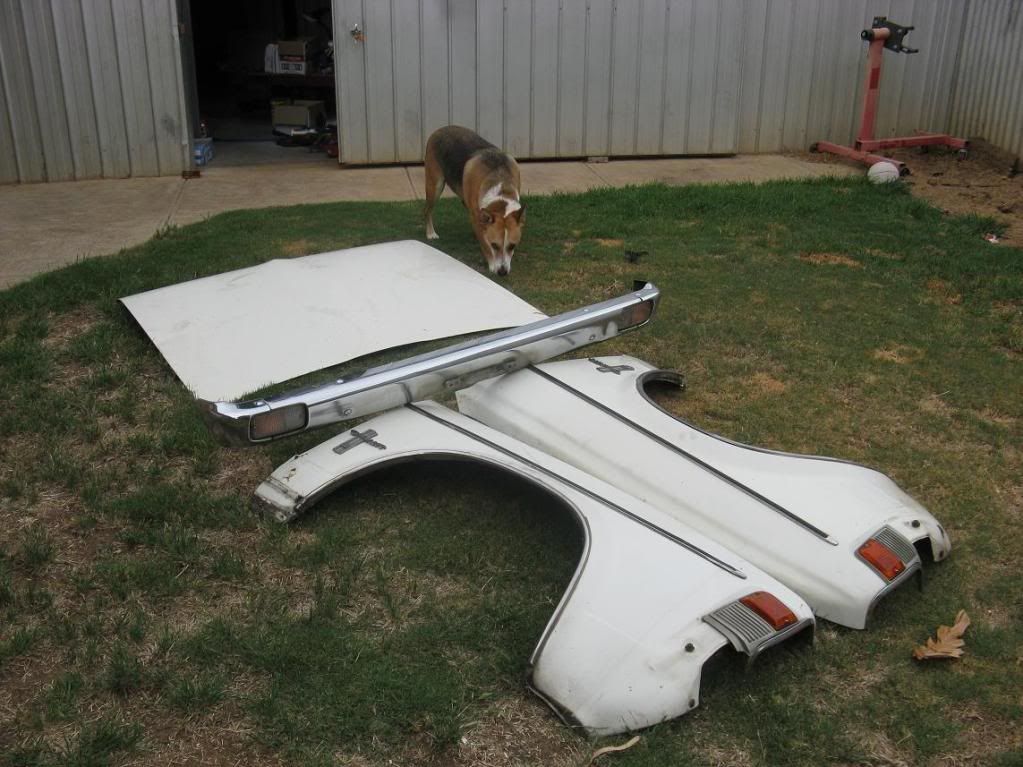
A pair of very tidt front gaurds, a perfect bonnet and a mint front bumper. All complete with lights in good condition and gaurds badges for my collection of worthless junk, lol
Minor rust under the paint but no holes in this one and a cracked lense
This one is mint
Perfect bonnet, no rust or dents and chrome is very good
Perfect front bumper bar with mint lights
The lot & Buddy, lol

Re: My GC Hardtop project
akk you can carry parts days are awesome aren't they
83' GJ wagon
82' GK Scorp (Track car)
08' Turbo territory
82' GK Scorp (Track car)
08' Turbo territory
-
BlueThunder
- Posts: 338
- Joined: Thu Oct 14, 2010 2:18 am
- Location: Antwerp

Re: My GC Hardtop project
Nice buying Jason. Those parts look pretty clean, what's the inside of the lower front guards look like?
Funny, he changed the rules the next time 'to all you can carry'
I once heard of a group of 4 blokes that went into a wrecking yard on one of those all you can carry days (it was years ago, can't remember the entry fee, but it was bugger all, I think it was like $20), anyway, they got a corner of a bonnet each and put a 351 V8 on it and walked out. The owner of the wrecking yard just stood there stunnedbrendon wrote:akk you can carry parts days are awesome aren't they
Funny, he changed the rules the next time 'to all you can carry'
If you want any sigma-galant.com stickers, then look here for how to get them sigma-galant.com stickers
Re: My GC Hardtop project
Cool thread, just wondering if u still wana sell
That surge tank if so, can I get the dimensions
Of it please. Thanks
That surge tank if so, can I get the dimensions
Of it please. Thanks
85GK GSR - EFI Camn
85AB GSR VR4dia- Build
85AB GSR VR4dia- Build
Re: My GC Hardtop project
Yeah man, sorry about that. I will measure it in a minute. I was thinking about cutting of the pump bracket, do you need that bit or not? The tank will still be perfectly usable just the base will be shorter
EDIT: as it sits now it is 355Lx230Hx120W
If I trim it up it will be 120Lx230Hx120W
EDIT: as it sits now it is 355Lx230Hx120W
If I trim it up it will be 120Lx230Hx120W
Re: My GC Hardtop project
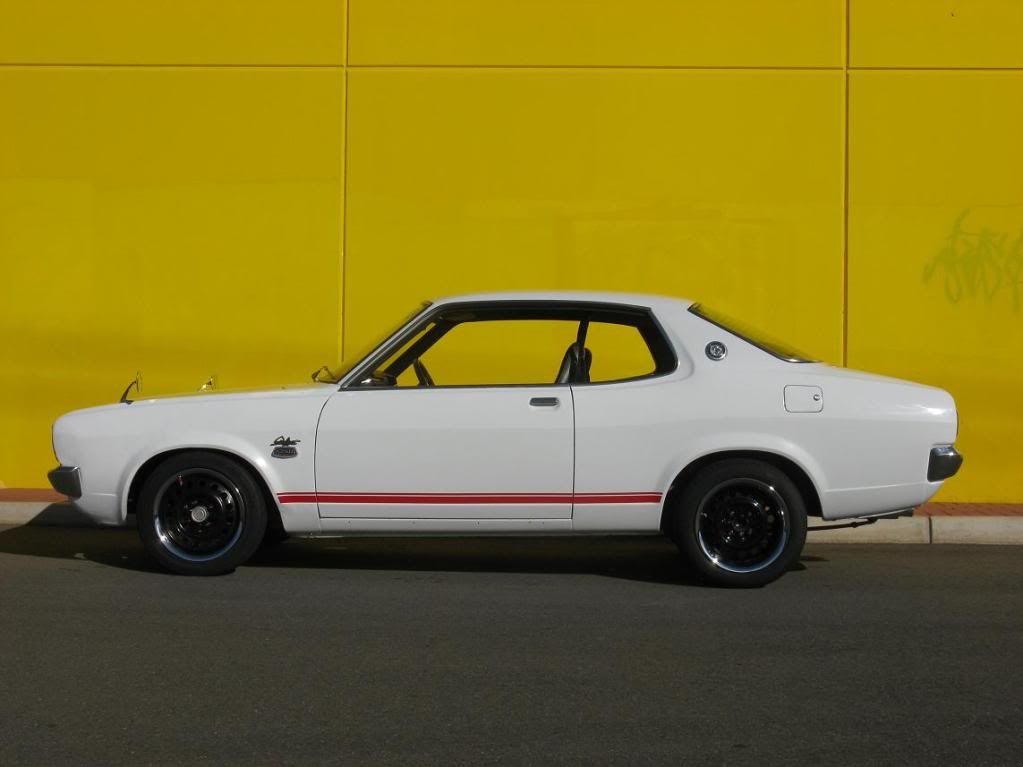
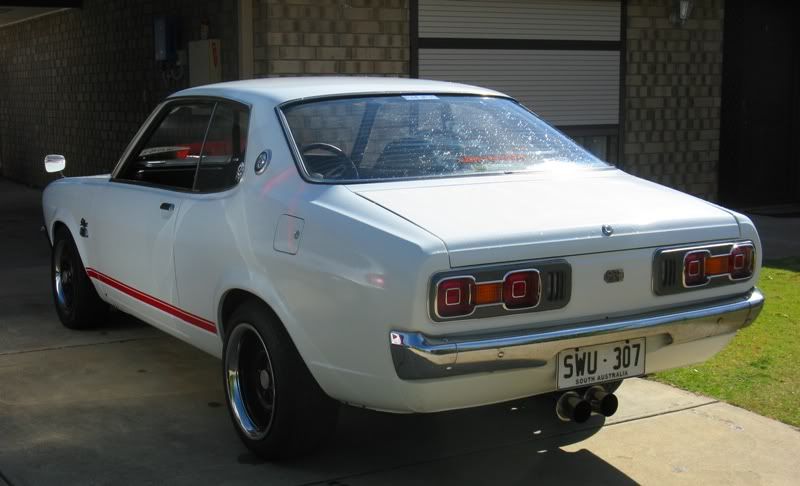
So I got stuck into the hardtop the last few days. Gave it a good sand with 1200 and then 2000 with soapy water.
Then tonight I hit it with some compound polish, gave it a wash and dry then went over it with high shine polish. I am pretty happy with how it has come out, much, much better than it was and only needs a few little touch ups with the compound on some spots.
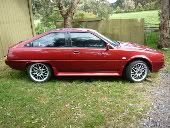
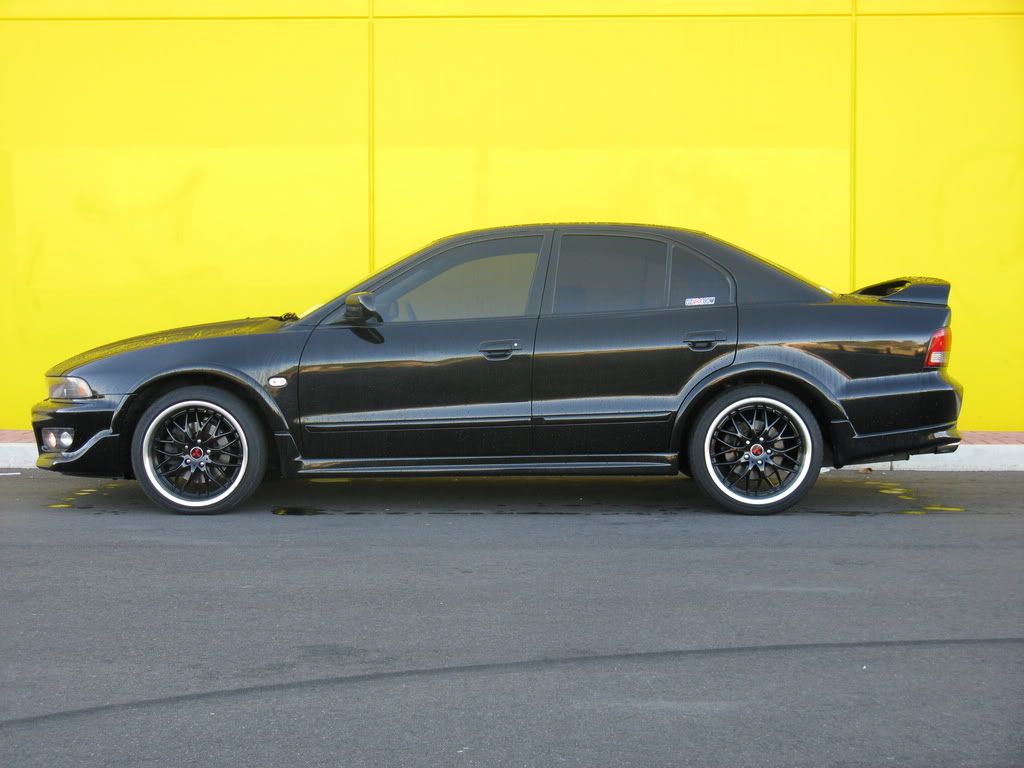
Anyway I thought I would go and take some pics in the same spot I took some of the VR4")
Then tonight I hit it with some compound polish, gave it a wash and dry then went over it with high shine polish. I am pretty happy with how it has come out, much, much better than it was and only needs a few little touch ups with the compound on some spots.
Anyway I thought I would go and take some pics in the same spot I took some of the VR4
Re: My GC Hardtop project
No probs mate I'll measure it up on weekend Wuld ratherA112H wrote:Yeah man, sorry about that. I will measure it in a minute. I was thinking about cutting of the pump bracket, do you need that bit or not? The tank will still be perfectly usable just the base will be shorter
EDIT: as it sits now it is 355Lx230Hx120W
If I trim it up it will be 120Lx230Hx120W
It not cut but if you need that bit then c wat we can work
Out thanks
85GK GSR - EFI Camn
85AB GSR VR4dia- Build
85AB GSR VR4dia- Build
Re: My GC Hardtop project
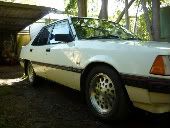
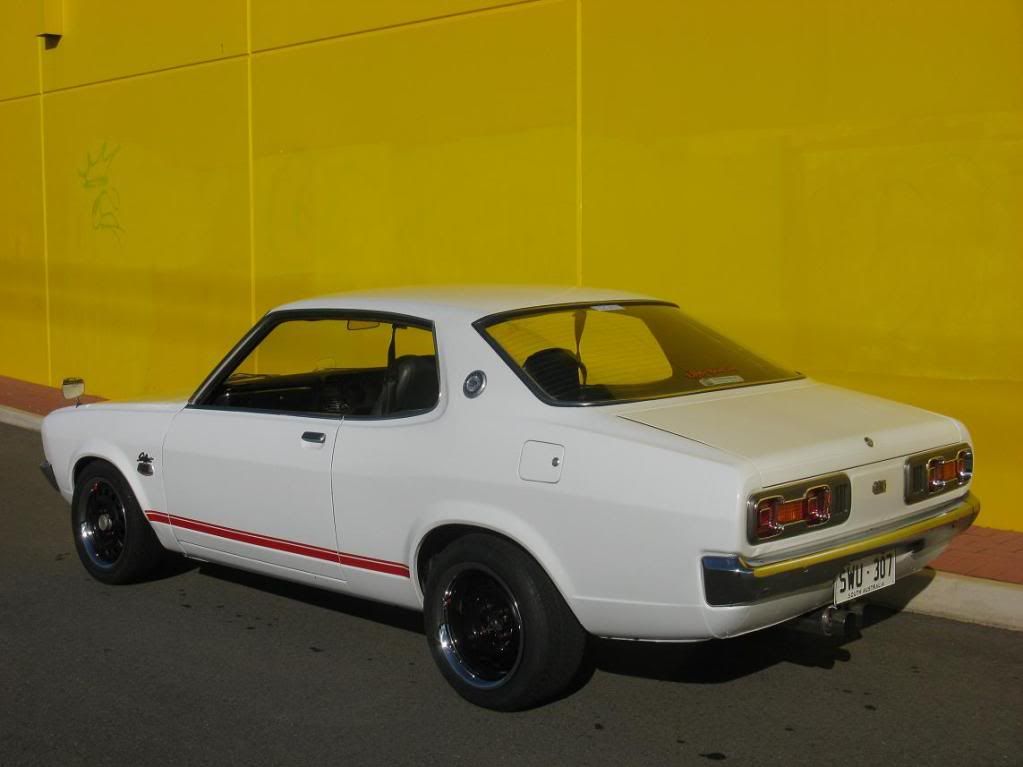
Went looking for a good spot for pics tonight and gave up and ended up cruising, lol.
Anyway, I took these two but can't seem to pick up the shine I can see with my eye. Any tips??
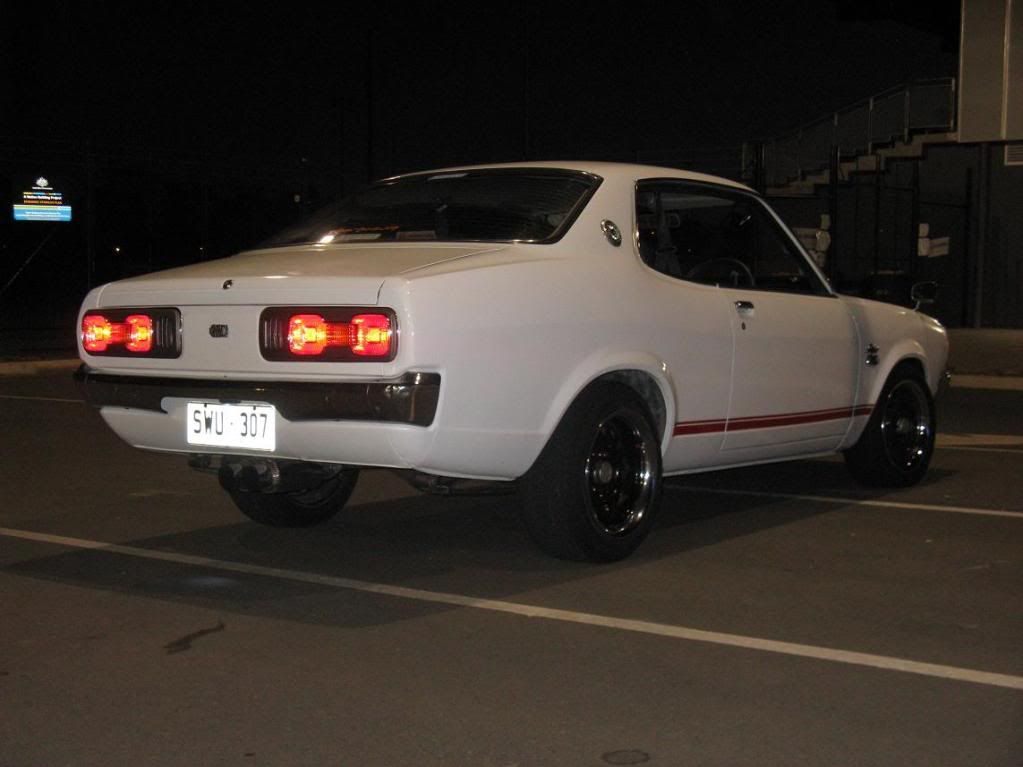
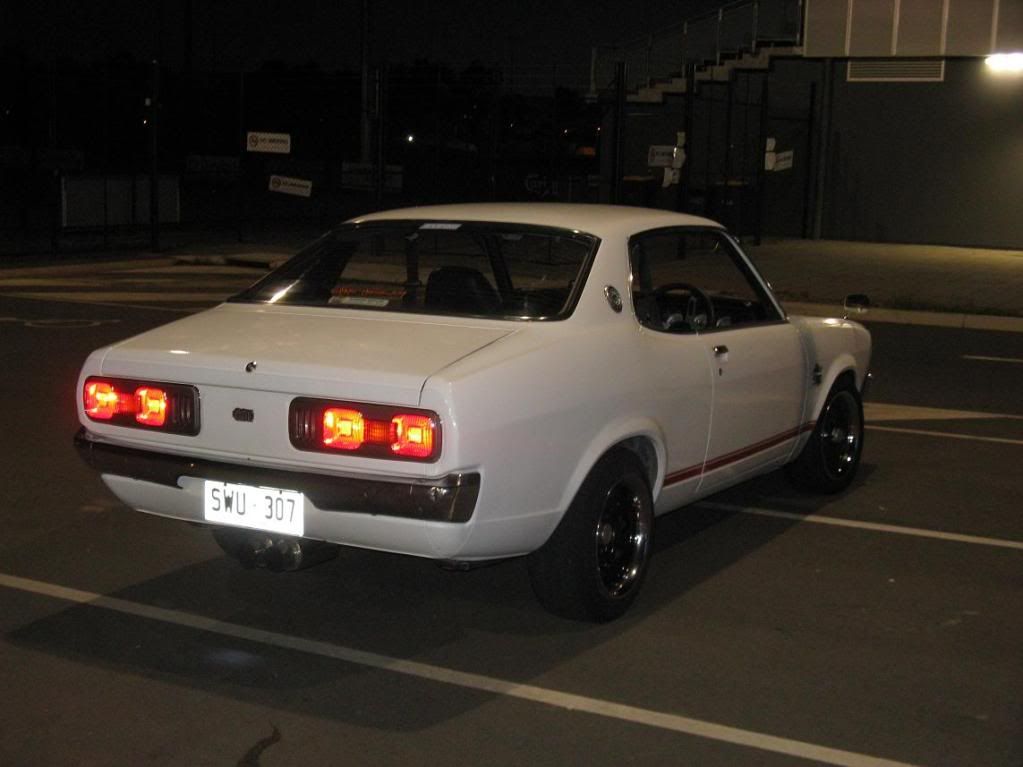
Anyway, I took these two but can't seem to pick up the shine I can see with my eye. Any tips??
-
Superscan811
- Posts: 1689
- Joined: Sun Mar 22, 2009 4:12 pm
- Location: Sydney
Re: My GC Hardtop project
Turtle wax and a bit of elbow grease.... 
Cheers.
Cheers.

Re: My GC Hardtop project
the car has come up a treat jase,very nice mate
p.s love the cepters mate,look really good! just needs some ride height adjusting
p.s love the cepters mate,look really good! just needs some ride height adjusting

1984 SIGMA GK GSR (was EFI TURBO 10psi 194.0kw atw ) N/A head & cam

*1991 VN SS 5spd...HI COMP HEAD & CAM

2004 MITSUBISHI EXPRESS BIG RIG MOBILE DETAILING 0414017857!

MY NEW TOY F6310
Re: My GC Hardtop project
Thanks guys
Hot tip for anyone else running the R31 steelies, the only centre caps I found that fit are the metal ones from a 2004 L300 Express.
Hot tip for anyone else running the R31 steelies, the only centre caps I found that fit are the metal ones from a 2004 L300 Express.
Re: My GC Hardtop project
it dose look nice 
84GKSIG's camera tips
with the lighting and shine coming through on your photos, white ive found is a harder colour to take pictures of, if your doing it at night make sure the car is directly under a light source and pan around with the camera experimenting with angels till you can see your shine through your camera, some of the lenses and half the automatic settings will try and auto adjust saturation and brightness levels to give you an optimum picture. so stick your camera in manual mode and set what type of light your under and what sort of exposure time your looking for ( tripod helps when using longer exposure times ) , if during the day make sure the car is parked in a position where it being hit by the light source from one direction only and isnt being backlit by other light sources or reflective backgrounds, general rule, dark car on a light background and a light car on a dark background

Re: My GC Hardtop project
As it is uncut will fit where I want it perfectly I think81GH wrote:No probs mate I'll measure it up on weekend Wuld ratherA112H wrote:Yeah man, sorry about that. I will measure it in a minute. I was thinking about cutting of the pump bracket, do you need that bit or not? The tank will still be perfectly usable just the base will be shorter
EDIT: as it sits now it is 355Lx230Hx120W
If I trim it up it will be 120Lx230Hx120W
It not cut but if you need that bit then c wat we can work
Out thanks
Pm me how u wanna be paid, and see if want to
Post it or not. That's if u still wana sell it. Thanks
Ps nice vr4
85GK GSR - EFI Camn
85AB GSR VR4dia- Build
85AB GSR VR4dia- Build
Re: My GC Hardtop project
I think you are south of Adelaide yeah?
I will be out and about in the hardtop tomorrow so might be able to do a hand over
I have few -4, -6 and -8 fittings I will chuck in too.
Yeah I miss my VR4, but I sold it for a good reason
I will be out and about in the hardtop tomorrow so might be able to do a hand over
I have few -4, -6 and -8 fittings I will chuck in too.
Yeah I miss my VR4, but I sold it for a good reason
Re: My GC Hardtop project
Went out to the SMASA Show & Shine today, got some sweet pics of some very nice cars. Sadly nothing Sigma or Galant There was one little Dodge Hardtop there though 
Anyway, while out and about I headed down south the meet up with 81GH so on the way back I thought I would stop at the old Mitsubishi plant and get some pics
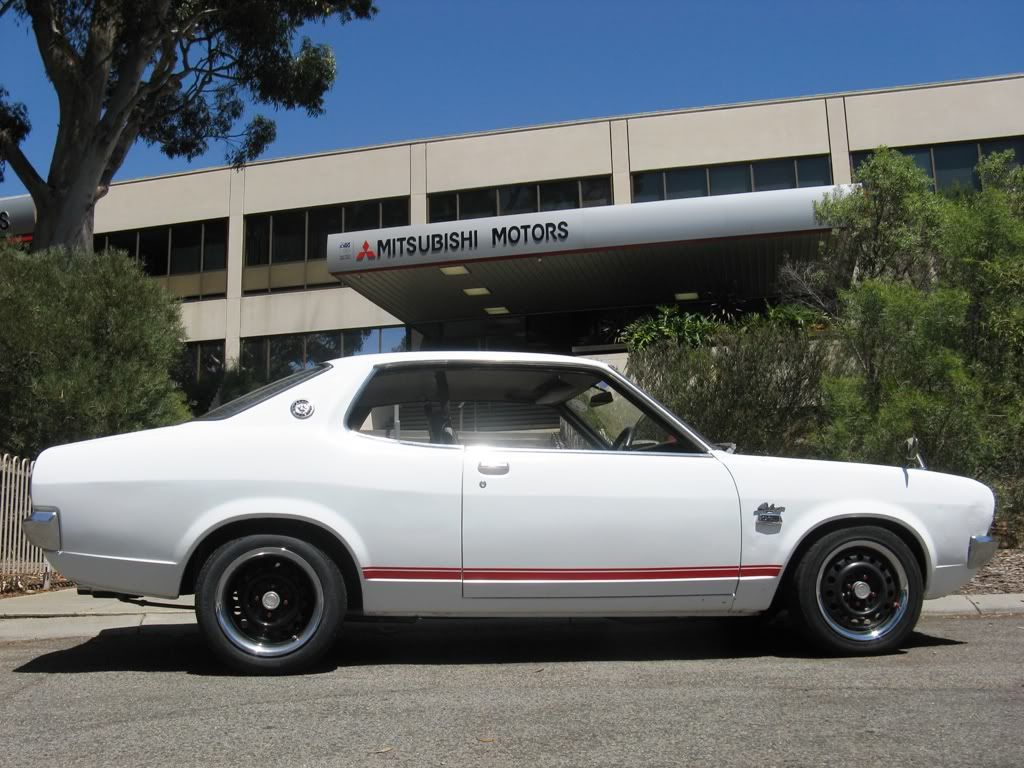
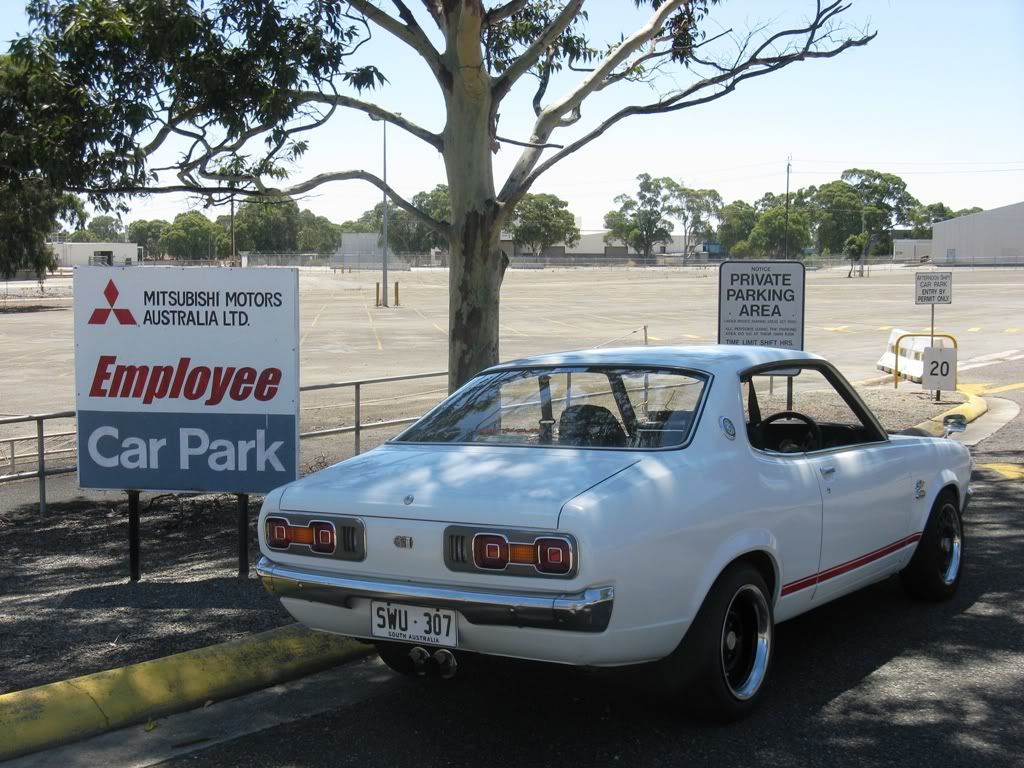
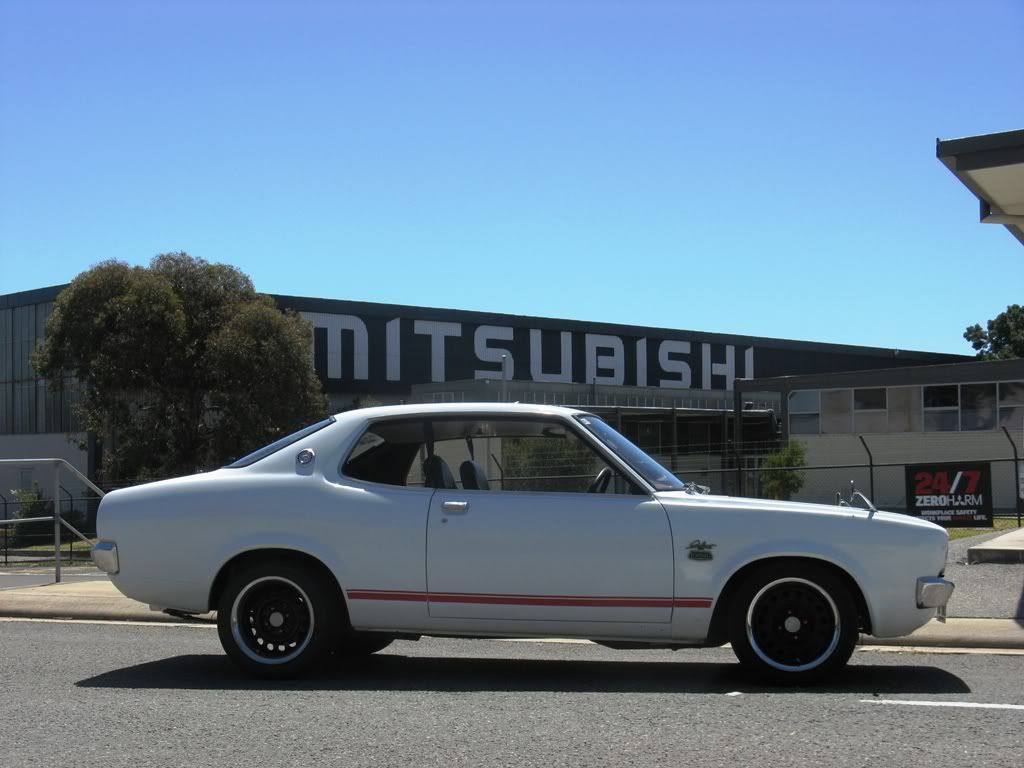
Stopped at the pub too, didn't go inside though lol
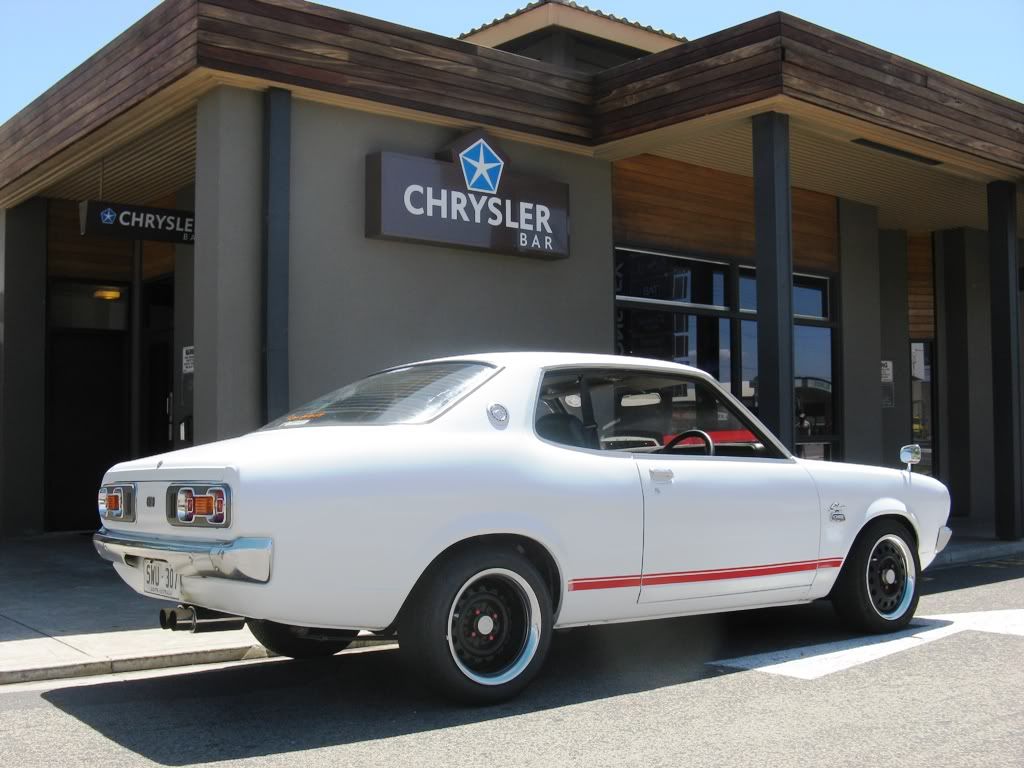
Anyway, while out and about I headed down south the meet up with 81GH so on the way back I thought I would stop at the old Mitsubishi plant and get some pics
Stopped at the pub too, didn't go inside though lol
Re: My GC Hardtop project
Got my JNC wheels t-shirt in the mail today and 3 stickers Will get some pics tomorrow in the daylight
Re: My GC Hardtop project
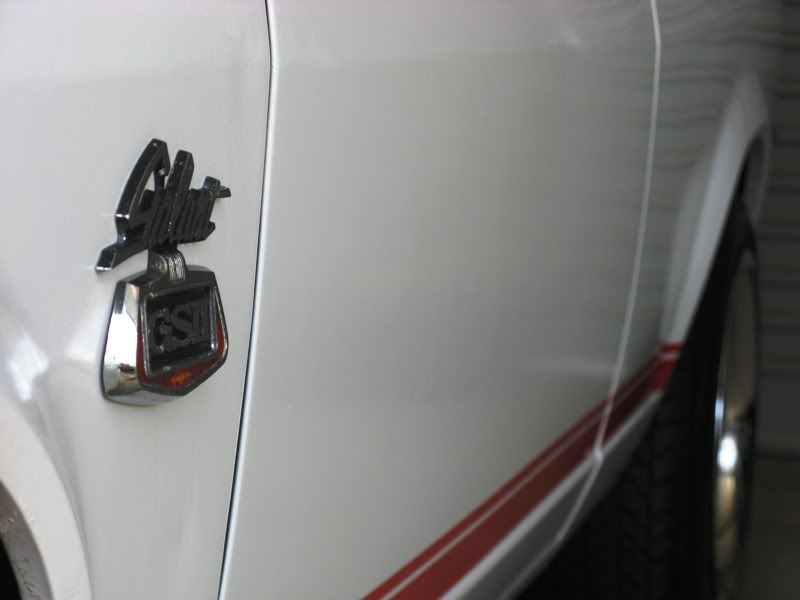
More pics, got my JNC stickers in place. In the close up you can see my reflection wearing my JNC t-shirt, lol

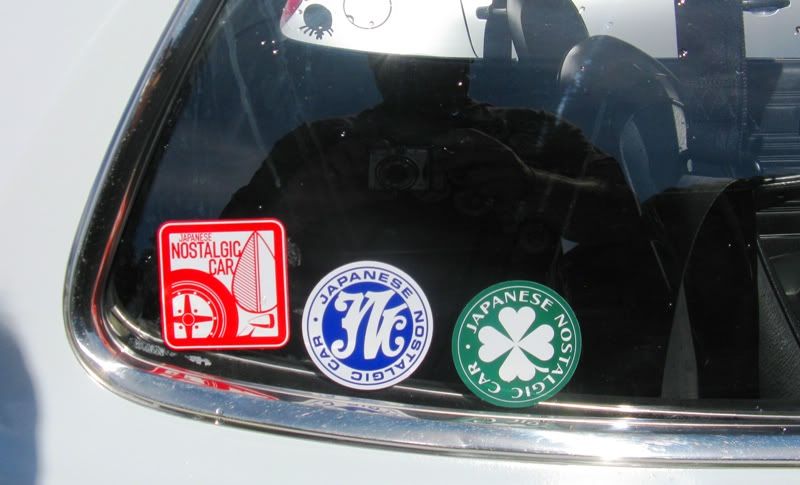
Another fantastic South Australian day, look at that sky
Another fantastic South Australian day, look at that sky
Re: My GC Hardtop project
They look good Jas. I 'll have to get myself some I think.
1976 Galant Hardtop
-
81GL
- Sigma-Galant Police (Global Mod)
- Posts: 912
- Joined: Mon Mar 23, 2009 7:27 am
- Location: Mildura Sunraysia Vic
Re: My GC Hardtop project
God that looks good. 
Old school Mitsu's, its not a hobby; it's a life style.
Re: My GC Hardtop project
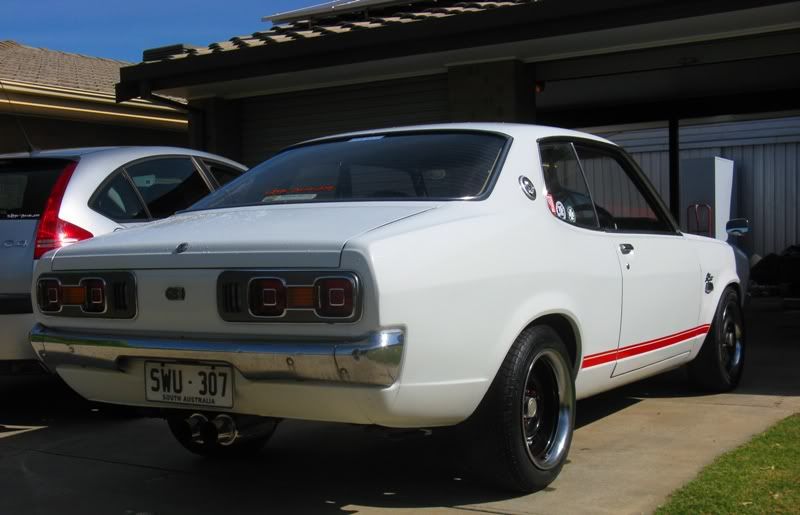
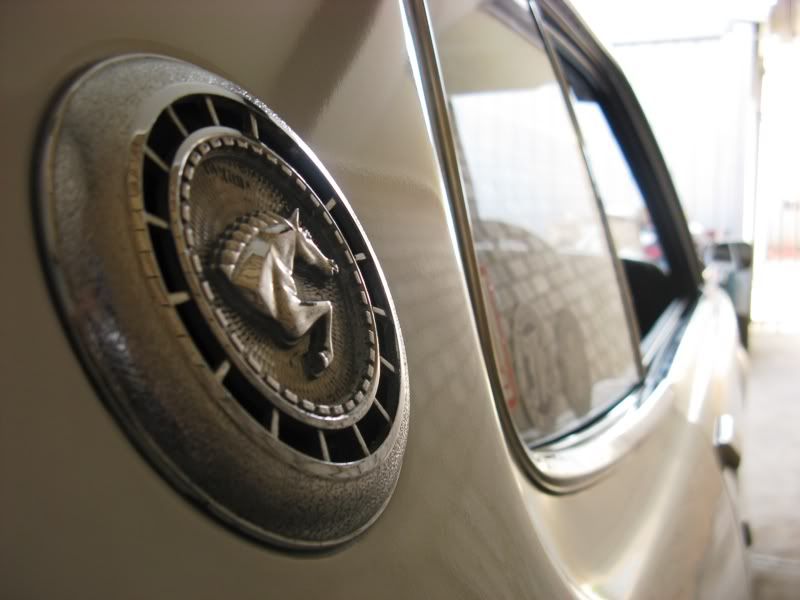
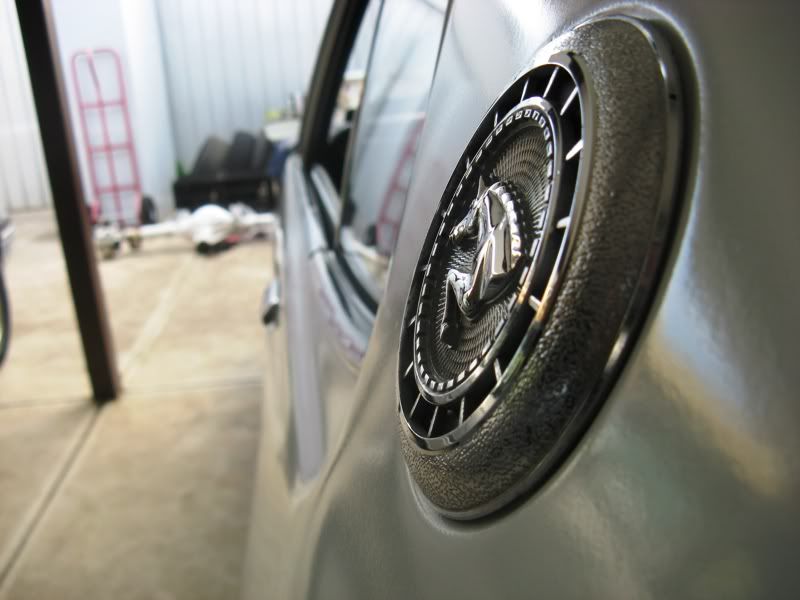
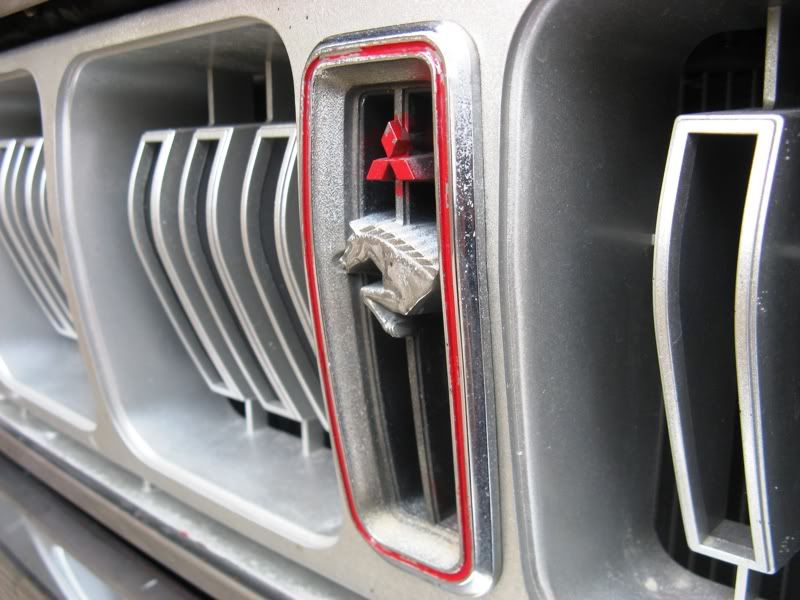
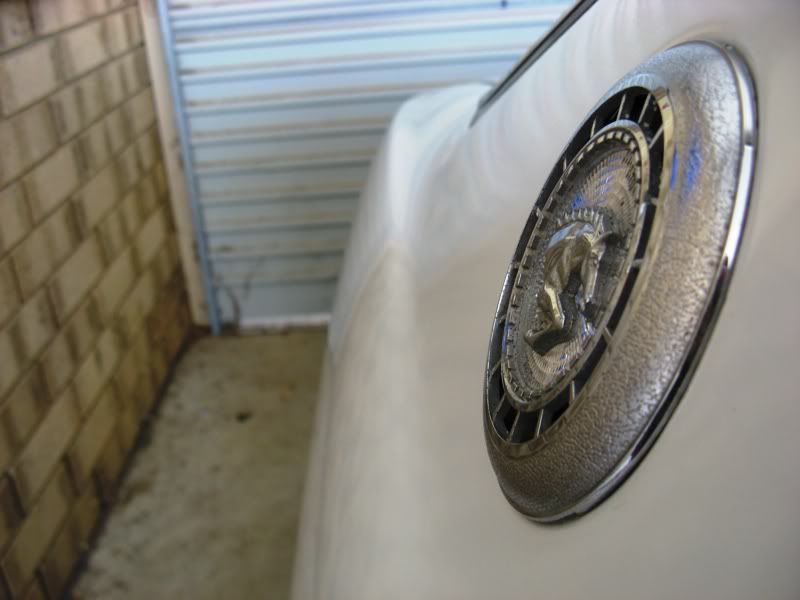
My first attempt at arty farty pics, lol. Mailny just messing with focus
Some look good some show up defects and some show how shitty my paint job is, lol
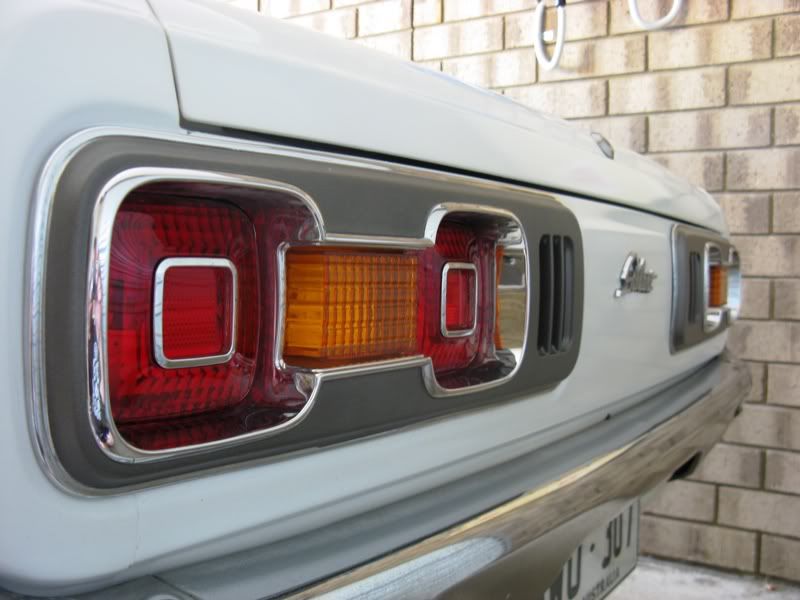
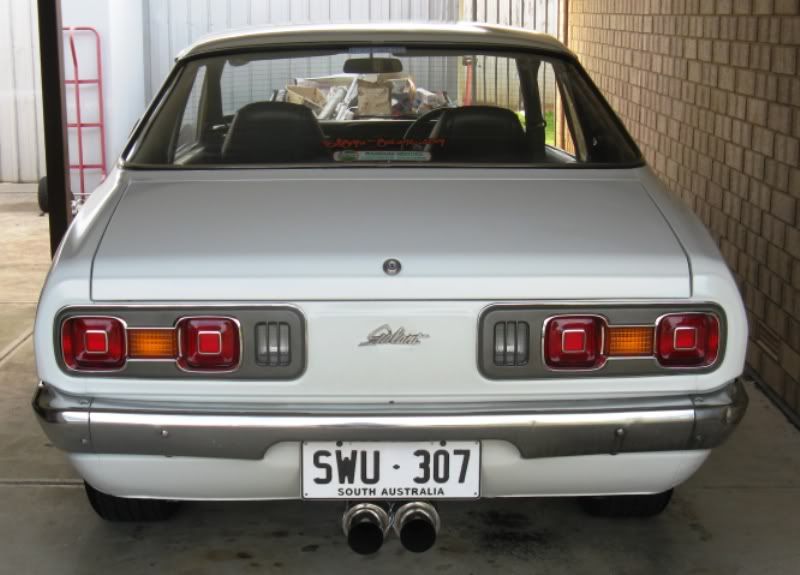
Sadly the Colt badges I bought were about 2mm to narrow and didn't hide the holes in the rear panel I decided to use a Galant badge in the same script as the fender badges instead
Some look good some show up defects and some show how shitty my paint job is, lol
Sadly the Colt badges I bought were about 2mm to narrow and didn't hide the holes in the rear panel
Re: My GC Hardtop project
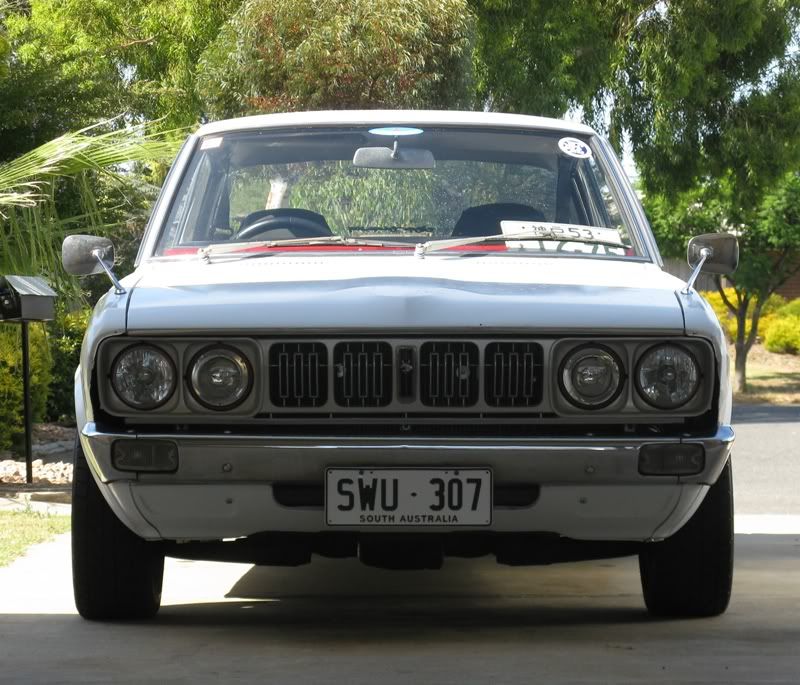
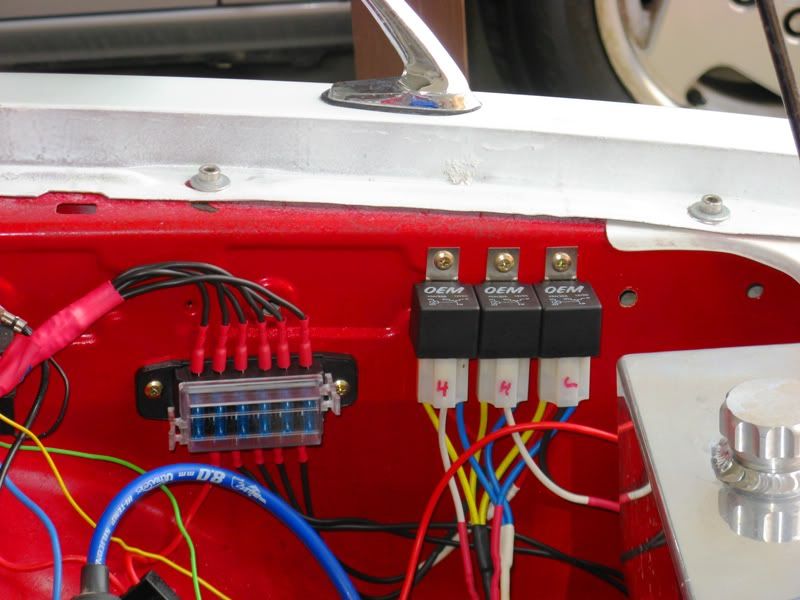
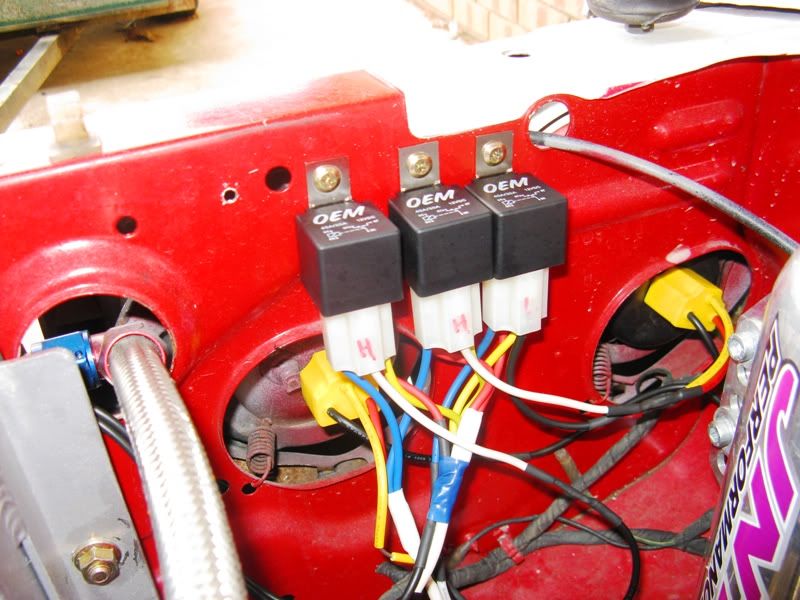
A fellow member has made me some very professional looms to use my new headlights, H4 55/60w hi-lows and 150w high's.
He has incorporated a low relay, a hi-low relay and a high relay.
This is all run from an auxiliary fuse box taking power directly from the battery; I have also run the thermo fan through there too.
The very cool loom just plugs directly into the factory hi-low plug so all can be returned to stock if ever needed.
I still need to do the final taping but I wanted you to see how good the looms are, with proper plugs, soldering and heat shrink, I would have twisted and taped
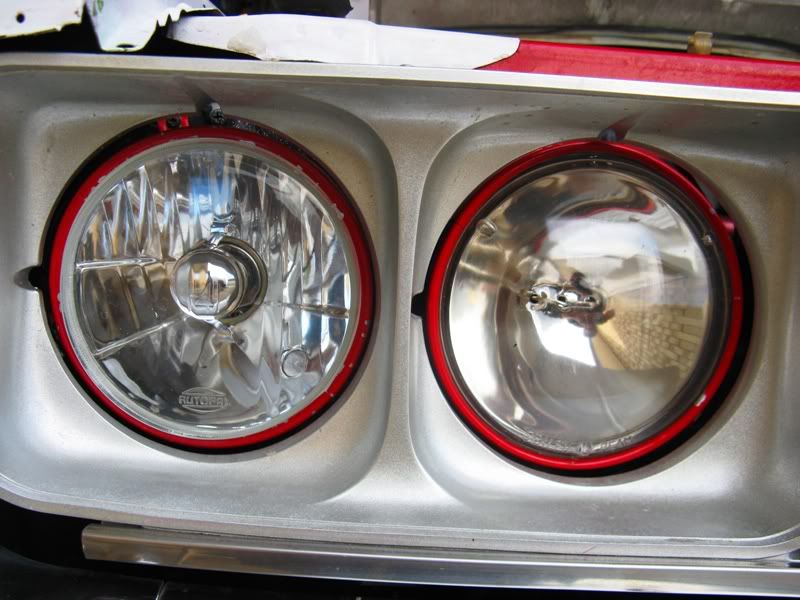
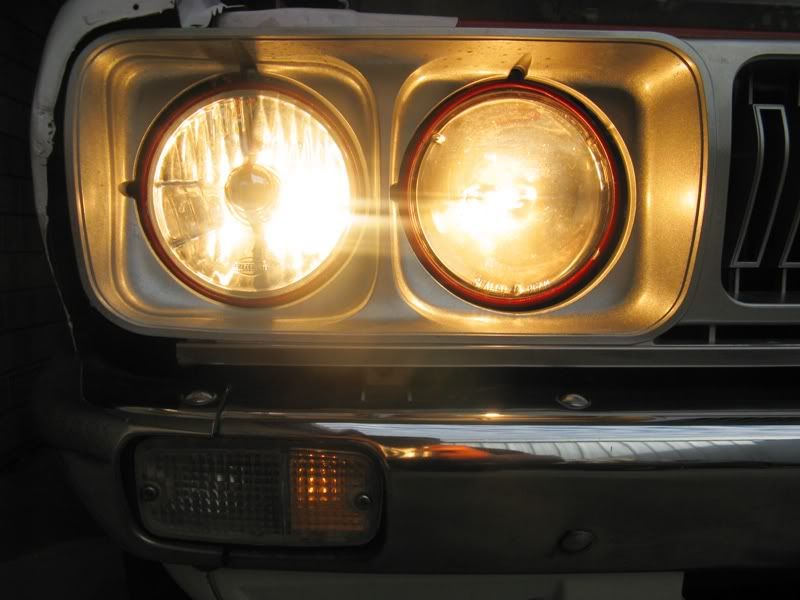
Went for a drive last night and F*CK ME, I knew the sealed beams were shit but seriously, on hi beam it is pure day light a good 30m ahead and still bright for what seems miles ahead. I have seen dedicated spotlights that aren't this good.
Now pics
He has incorporated a low relay, a hi-low relay and a high relay.
This is all run from an auxiliary fuse box taking power directly from the battery; I have also run the thermo fan through there too.
The very cool loom just plugs directly into the factory hi-low plug so all can be returned to stock if ever needed.
I still need to do the final taping but I wanted you to see how good the looms are, with proper plugs, soldering and heat shrink, I would have twisted and taped
Went for a drive last night and F*CK ME, I knew the sealed beams were shit but seriously, on hi beam it is pure day light a good 30m ahead and still bright for what seems miles ahead. I have seen dedicated spotlights that aren't this good.
Now pics